Connect YetiConnect to HubSpot
Get your team texting and calling from HubSpot in under 15 minutes. This guide walks you through installation, configuration, and your first test message.
Prerequisites
Before you begin, make sure you have the following:
- A HubSpot account with Sales Hub or Marketing Hub (Starter plan or higher)
- A YetiConnect account with at least one active phone number
- Admin access in both HubSpot and YetiConnect (you need permission to install apps and manage integrations)
Install from HubSpot Marketplace
- Open the HubSpot App Marketplace and search for "YetiConnect."
- Click Install app on the YetiConnect listing.
- Review the requested permissions. YetiConnect needs access to your contacts, companies, deals, and timeline so it can sync conversations and log activity on CRM records.
- Click Connect app to authorize.
Connect Your Account

- After authorizing, you will be redirected to sign into your YetiConnect account.
- Enter your YetiConnect credentials and click Sign In.
- Select the YetiConnect workspace you want to link to this HubSpot portal.
- You will see a confirmation screen once the accounts are connected.
Configure Phone Numbers
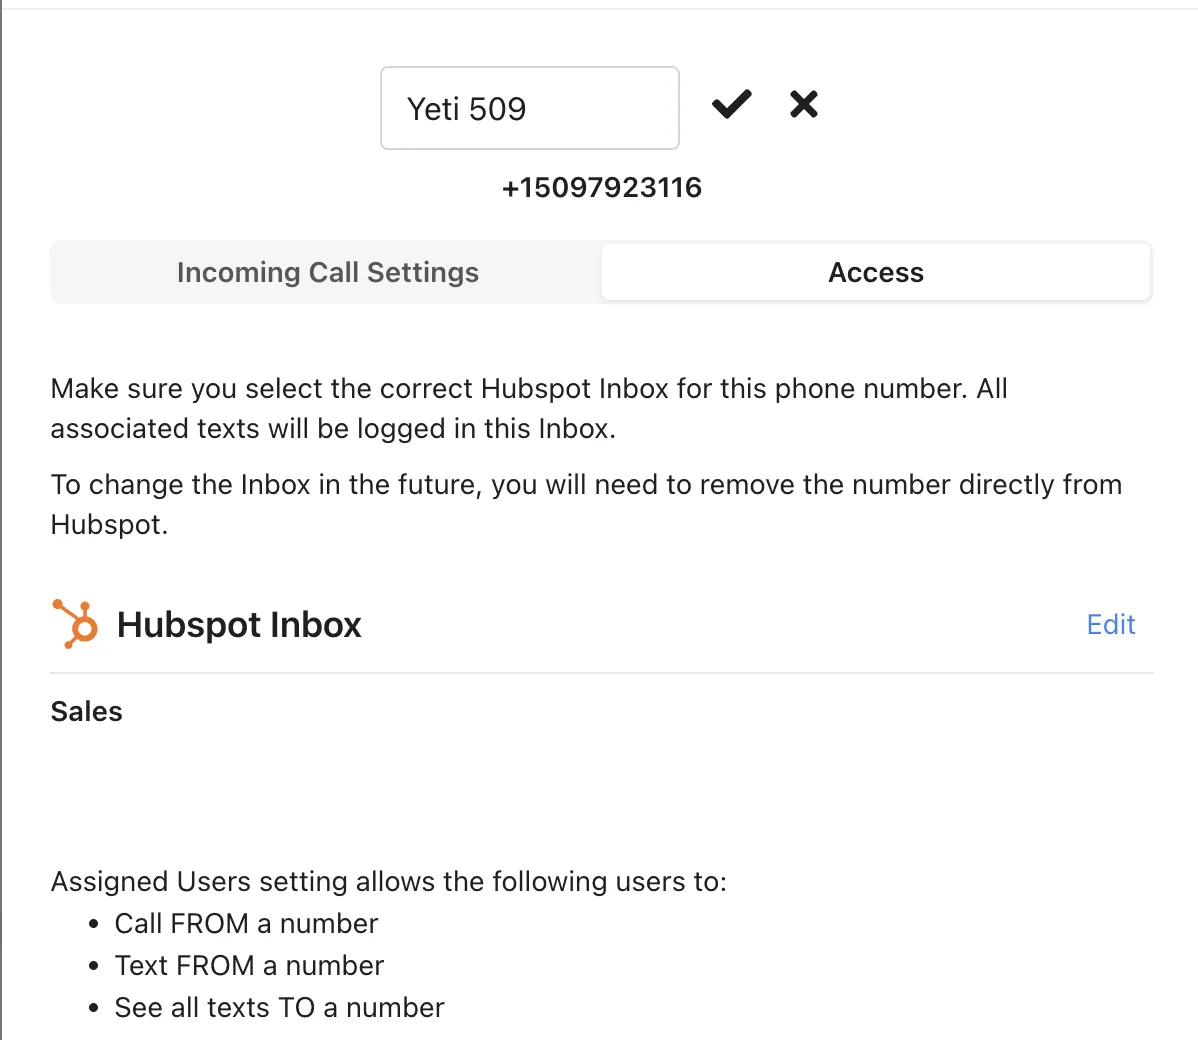
- In your YetiConnect dashboard, go to Settings > Phone Numbers.
- Assign a phone number to each user or team that will be texting and calling from HubSpot.
- Choose whether to use a local number, toll-free number, or port an existing business number.
- Once assigned, the number will be available as the sender for texts and calls made from HubSpot records.
Tip: If you are porting an existing number, start the process early. Porting typically takes 5-10 business days.
Set Up HubSpot Workflows
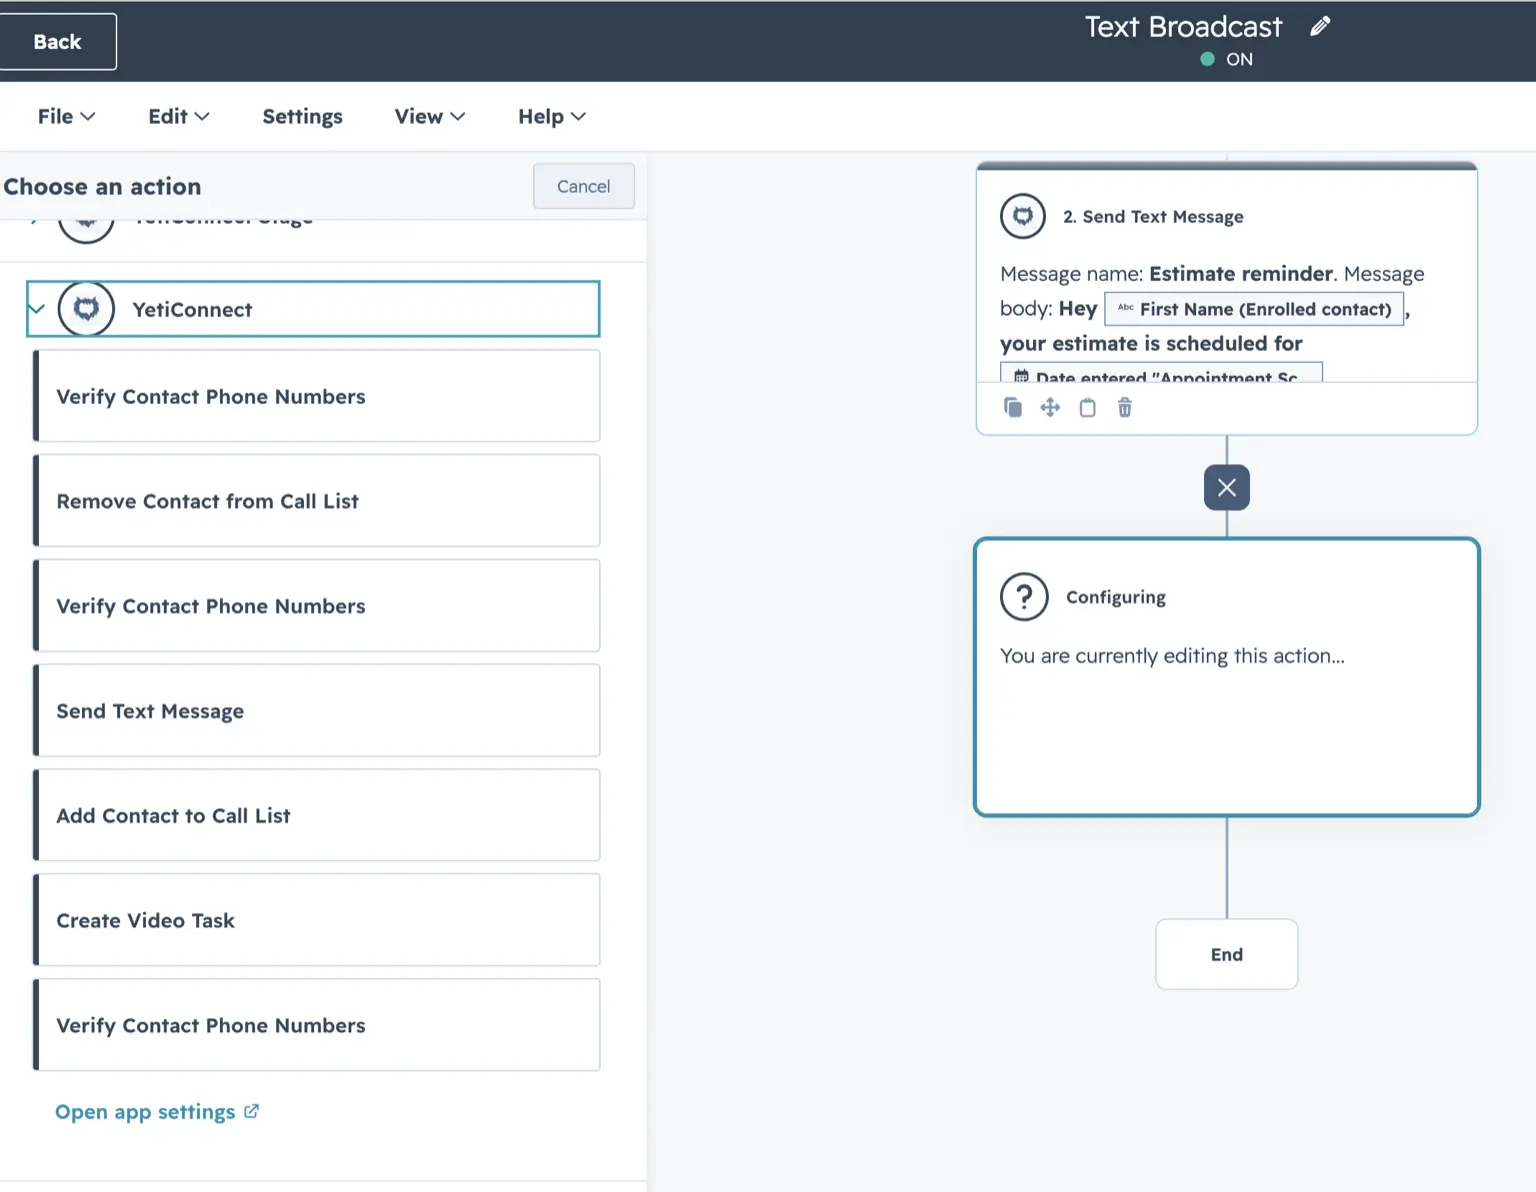
YetiConnect adds five workflow actions to your HubSpot workflow builder. You can use them in any contact-based or deal-based workflow.
Available actions
Send Text Message
Send an SMS to the contact's phone number using a template or custom message.
Add Contact to Call List
Queue the contact for your team's next dialing session in YetiConnect.
Remove Contact from Call List
Pull a contact out of the call queue when they no longer need follow-up.
Verify Contact Phone Numbers
Validate phone numbers on the contact record to reduce failed deliveries.
Create Video Task
Create a personalized video outreach task assigned to the contact's owner.
Example: Send a text when a deal moves to a new stage
- In HubSpot, go to Automation > Workflows and create a new contact-based workflow.
- Set your enrollment trigger (for example, "Deal stage is Appointment Scheduled").
- Click the + button to add an action and search for YetiConnect.
- Select Send Text Message, compose your message, and save.
- Turn the workflow on. Contacts that match the trigger will receive the text automatically.
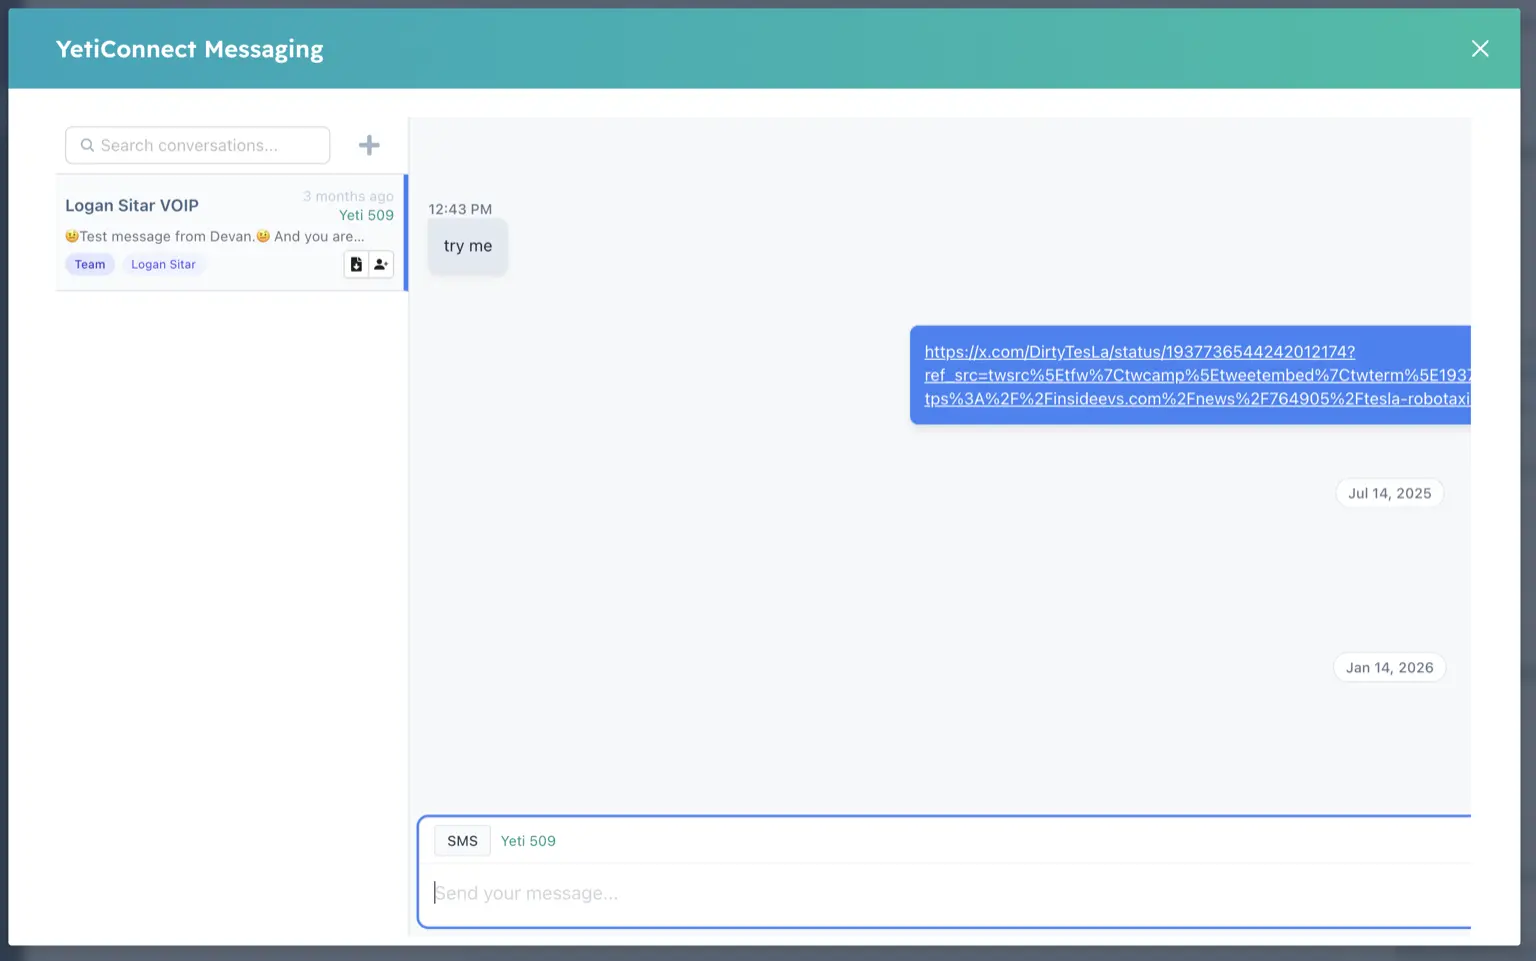
Using the CRM Card
Once connected, a YetiConnect card appears on your HubSpot contact and deal records. This is your team's hub for texting and calling without leaving HubSpot.
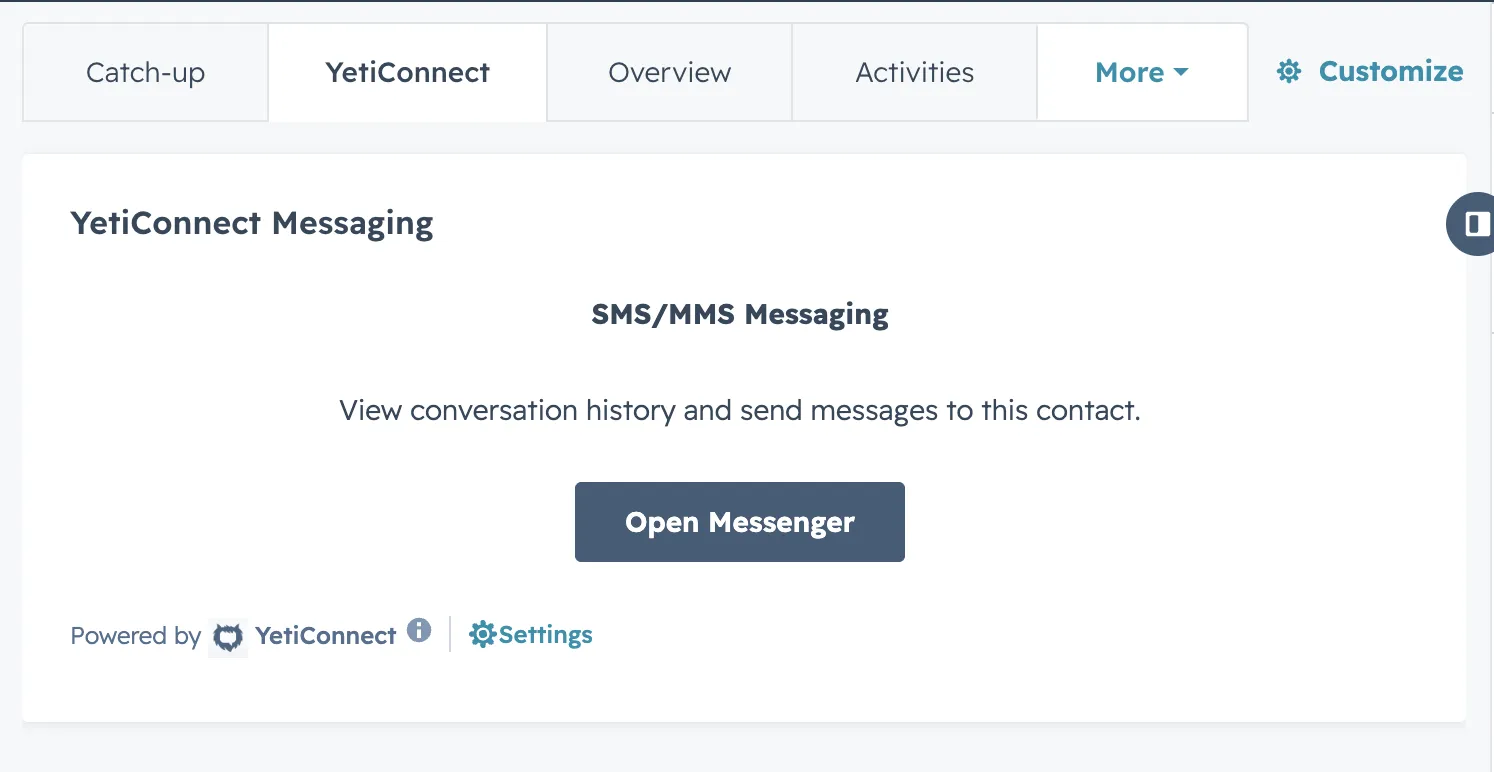
What you can do from the card
- View conversation history for the contact, including sent and received messages
- Send a text message directly from the contact record
- Start a call using YetiConnect's dialer
- See timeline activity with all SMS and call events logged automatically
Verify the Integration
Run a quick test to make sure everything is connected properly.
- Open a contact record in HubSpot for someone on your team (or a test contact).
- Find the YetiConnect card on the record and send a test text message.
- Confirm the message appears in the YetiConnect conversation view.
- Check the HubSpot timeline on the contact record. You should see the message logged as an activity.
- Reply to the test message from your phone. Confirm the reply appears on both the YetiConnect card and the HubSpot timeline.
Tip: Use a real phone number you can reply from. Test messages to landlines or VoIP numbers that cannot receive SMS will not generate a reply.
Troubleshooting
The YetiConnect card is not showing on contact records
Go to Settings > Integrations > Connected Apps in HubSpot and confirm YetiConnect is listed. If it is not, reinstall the app from the marketplace. If it is listed, try refreshing the contact record page.
OAuth authorization expired
If you see an authorization error, go to Settings > Integrations > Connected Apps, find YetiConnect, and click Reconnect. You will be prompted to re-authorize the permissions.
Phone number not appearing as a sender
Make sure the phone number is assigned to a user in YetiConnect Settings > Phone Numbers. Only assigned numbers appear as sender options. If you recently added a number, wait a few minutes for it to sync.
Workflow action not firing
Check that the workflow is turned on and that the contact meets the enrollment criteria. In the workflow history, look for errors on the YetiConnect action step. Common causes: the contact has no phone number, or the phone number is not in a valid format.
Messages are not logging to the HubSpot timeline
Verify the integration is still connected under Settings > Connected Apps. If the connection is active, check that the contact's phone number in HubSpot matches the number the message was sent to. Mismatched numbers prevent automatic logging.
Need Help?
Our team is here to help you get set up. Reach out and we will get you connected.